Debit & Credit User Guide
Transaction Attachments
Great Way to Keep Your Receipts
Sometimes we purchase things that require receipts for possible warranty service in the future. In this case, it is better to attach receipts to such transactions in the app. All attachments in Debit & Credit are synced to iCloud and available on all of your devices.
Please note that any file except for a bundled file (e.g. iWork files) can be attached. The limit of 50MB per file applies.
Adding an Attachment in macOS
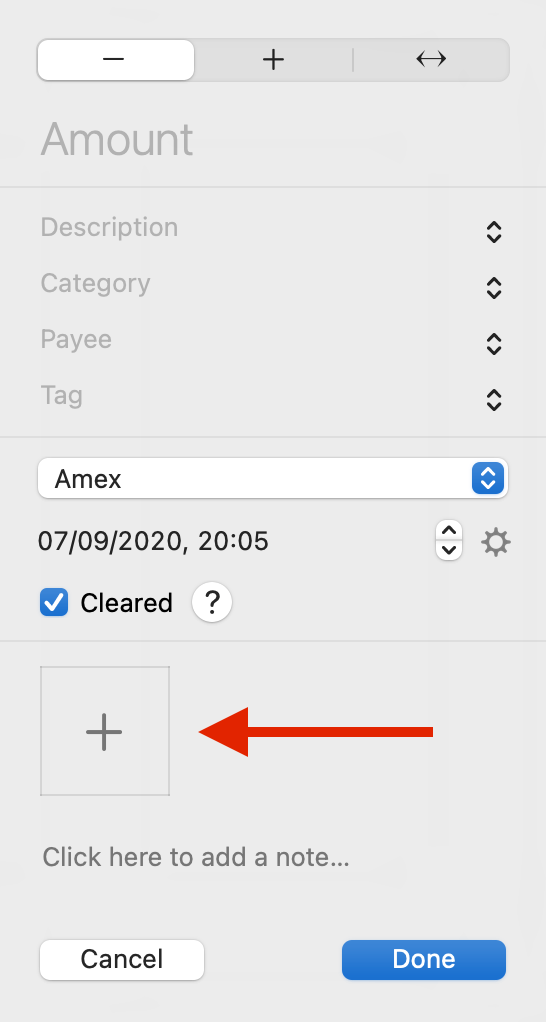
Select "Extra Options" when creating a new transaction and then click on the "+" button:

If you want to add files to an existing transaction, you can drag and drop them into a transaction itself.
Adding an Attachment in iOS
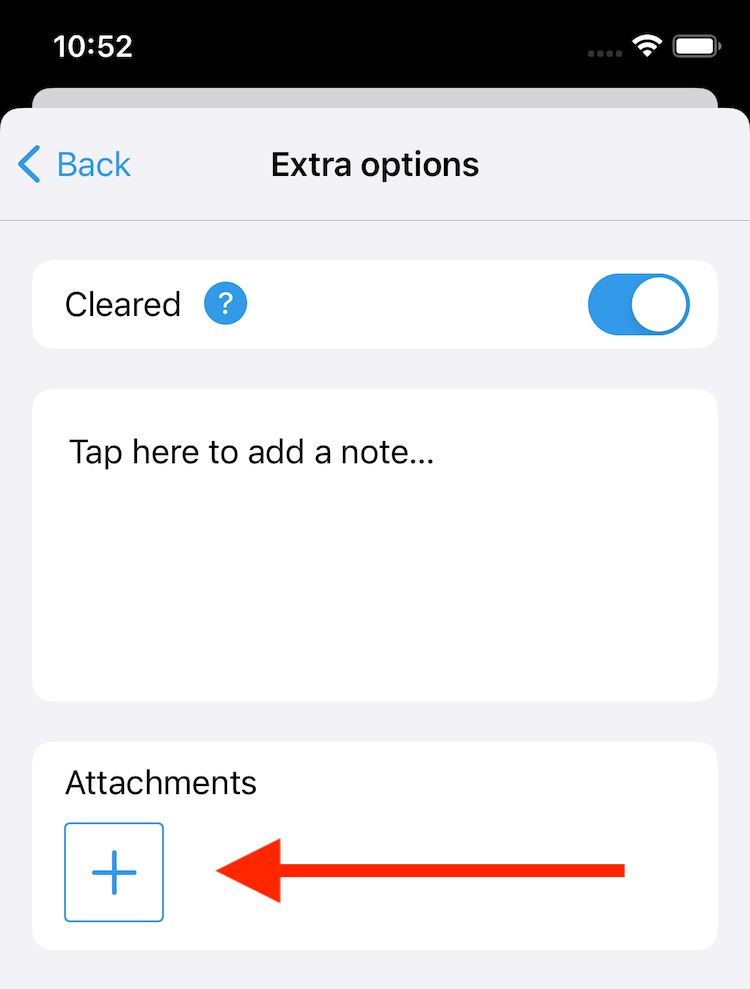
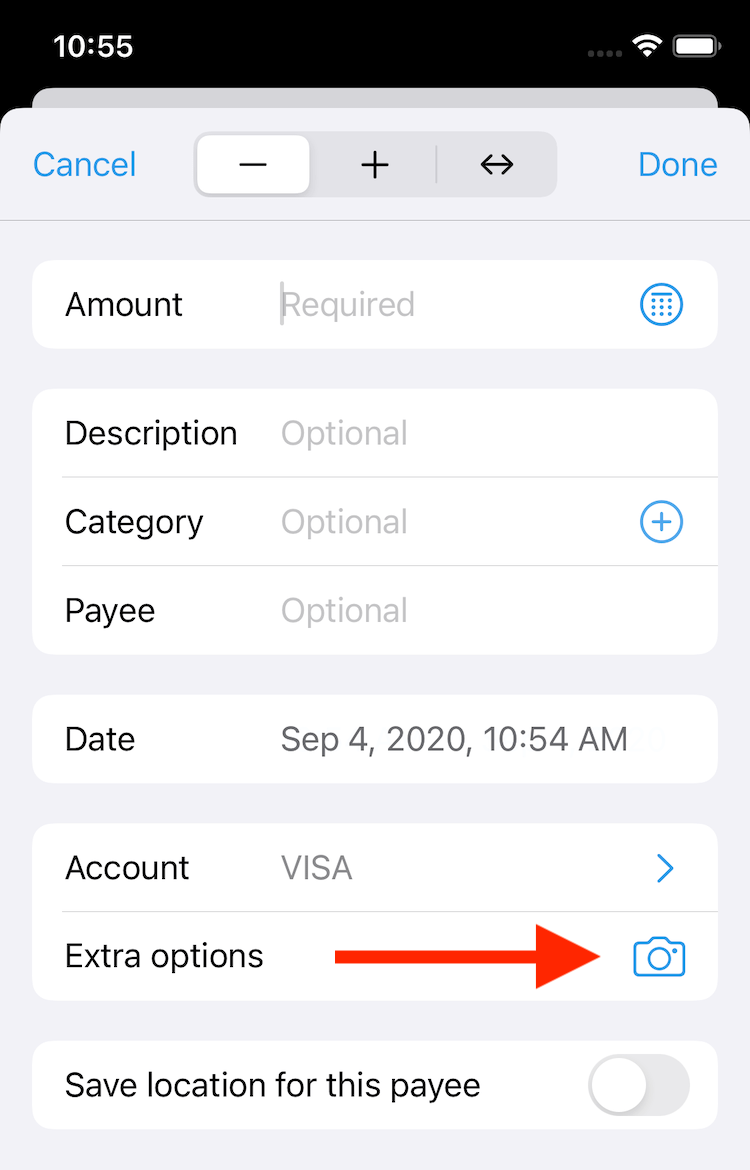
Select "Extra Options" when creating a new transaction and then click on the "+" button:

You will be presented with a list of available file sources. The document scanner is one of them and it is a great tool to attach receipts. Compared to the regular camera mode for adding new files, the scanner automatically crops photos for you and optionally makes them black and white. Using the scanner makes your receipts 4-5 times smaller in file size.
There is also a shortcut for the document scanner right on the main page:

If you want to add files to an existing transaction, you can drag and drop them into a transaction itself. This feature is available only on the iPad.
Adding Attachments From Other Apps
You can create a new transaction with a file directly from another app by using the share extension.
Once you start using attachments, you can view all of your attachments in the attachments manager. To open the manager in the iOS app, use the app settings. To do that in the Mac app, click on "Debit & Credit" in the menu bar and select the relevant menu item.
Related topics: transaction tags, split categories, statement reconciliation.